
I really hate to think about how many disposable face masks are ending up in landfill (or discarded carelessly in nature) every single day. I’ve seen tons of them thrown on the side of the road here in Sydney. It’s awful to imagine the scale of waste created by this single-use protective equipment.
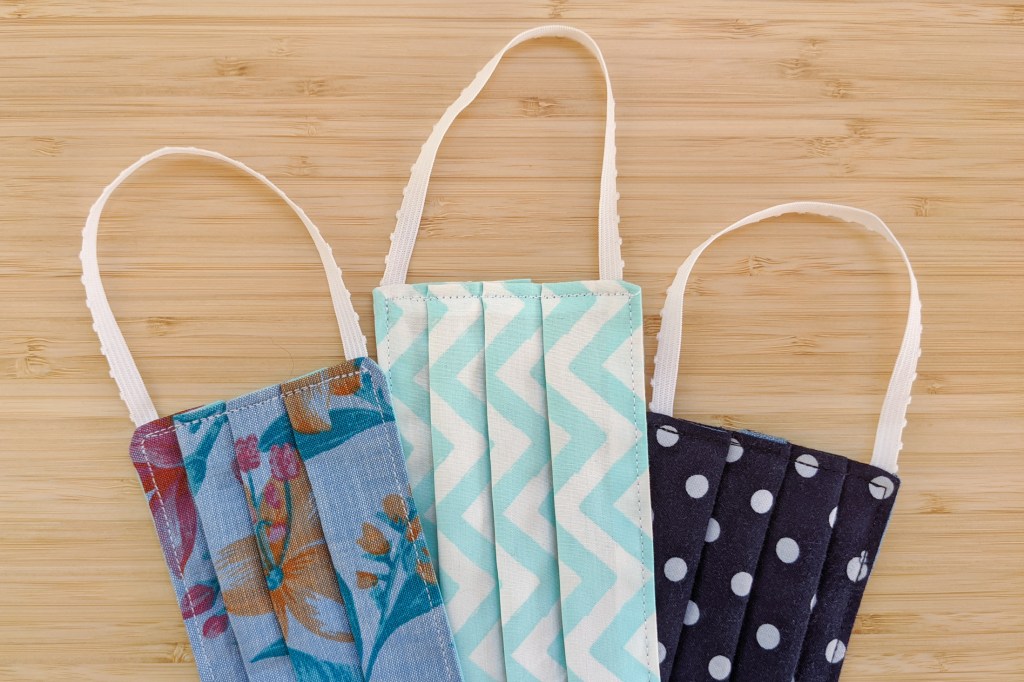
To keep my friends and family safe when we venture outside of our homes, I’ve been making DIY reusable face masks that can be washed and reused again and again. They are small, lightweight, and are easily shoved in a backpack, handbag, or pocket. They’re also reversible and can be made with cute patterns that coordinate with your outfit!
Here’s some quick facts about fabric face masks:
- The masks do not have a medical-grade filter, but they do have two layers of material which is reported to be more successful than a single layer at reducing the transmission of infectious droplets in the air.
- They should be washed after each use. Use warm water with detergent/soap, and air-dry in direct sunlight if possible. This removes germs that are on the mask so that it’s clean for the next use.
- I couldn’t tell you exactly how long these masks will last, but they should be about as sturdy as any item of clothing that gets washed regularly. You can pop the masks in a garment bag in your washing machine to help protect them from damage.
- I used second-hand fabric scraps and elastic purchased from a thrift store here in Sydney, as well as some fabric scraps that I had at home from other sewing projects. You can use any sort of thin fabrics for the masks as long as they are non-stretch material. Woven cotton fabrics work best.
- You do need basic sewing skills to make these, but they’re fairly easy to put together! You could sew them by hand if you don’t have access to a sewing machine, though this will be a little more time consuming.

What you’ll need to sew face masks:
- Fabrics (2 colours/patterns, woven cottons work well)
- Elastic
- Thread
- Scissors
- Ruler
- Sewing machine
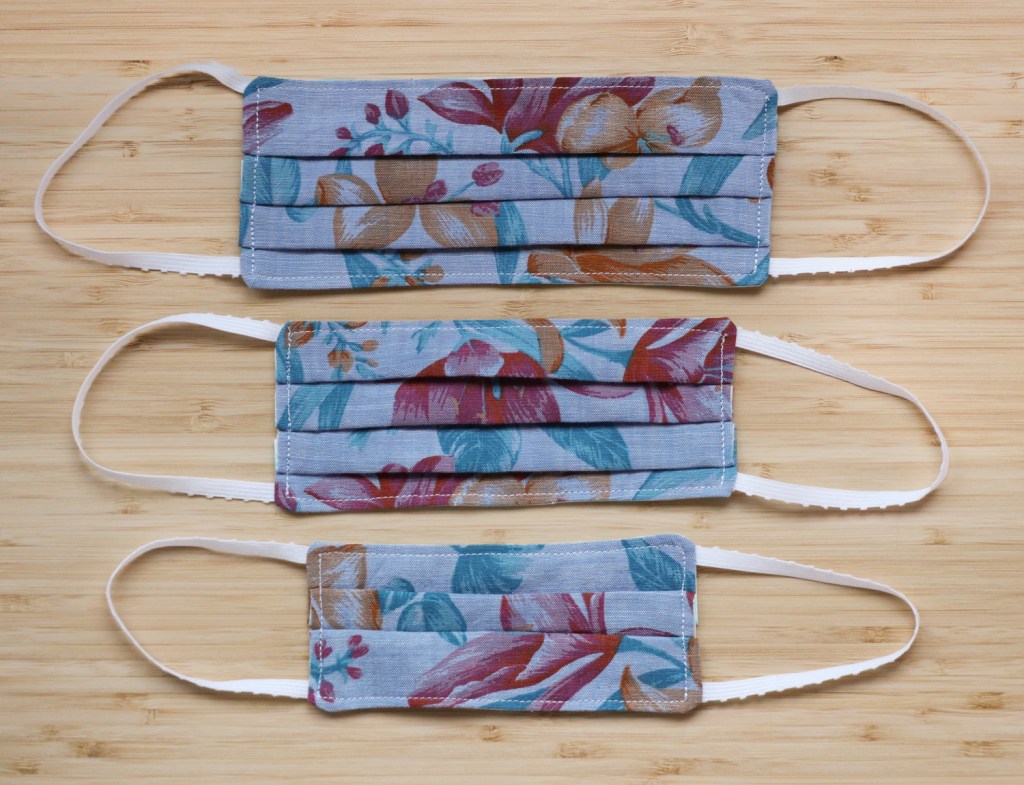
Pick your size:
- Large (adults) – fabric 200mm X 180mm, elastic 190mm
- Medium (petite adults/teens) – fabric 175mm X 155mm, elastic 190mm
- Small (children) – fabric 150mm X 130mm, elastic 180mm
How to make face masks:
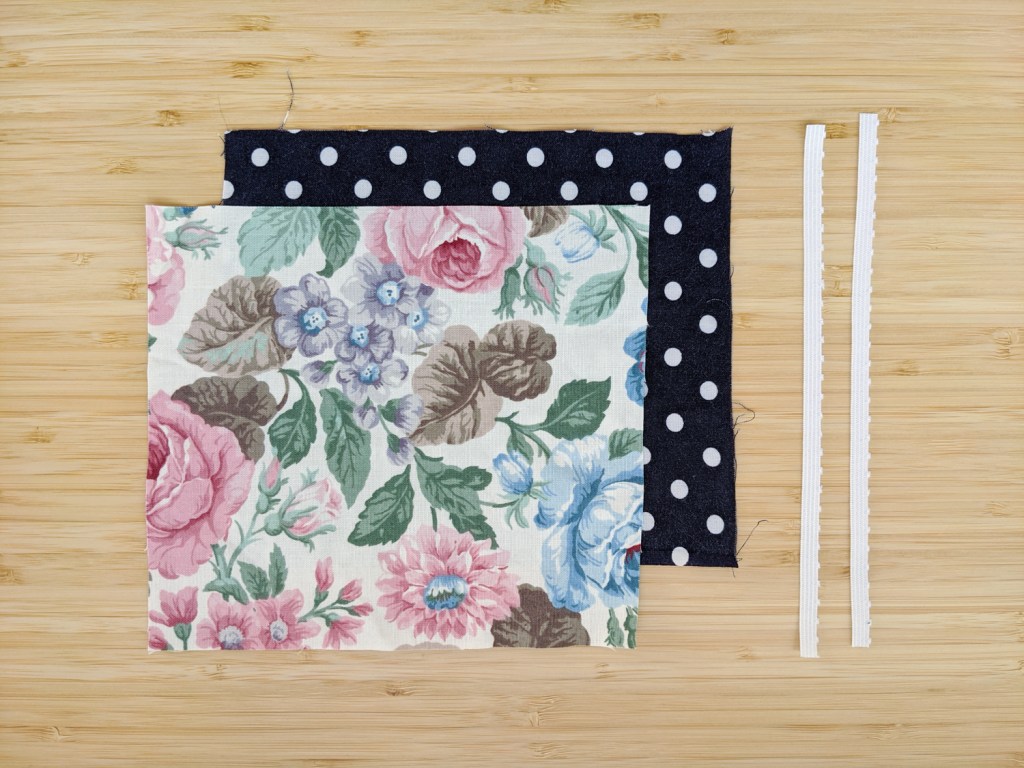
Step 1: Cut 2 fabric pieces to size for each mask. Cut 2 elastics to the desired length for each mask. I’m going with a medium size (because I’m quite small for an adult!) and I chose a floral pattern for one side and a navy blue with white polkadots for the other side.
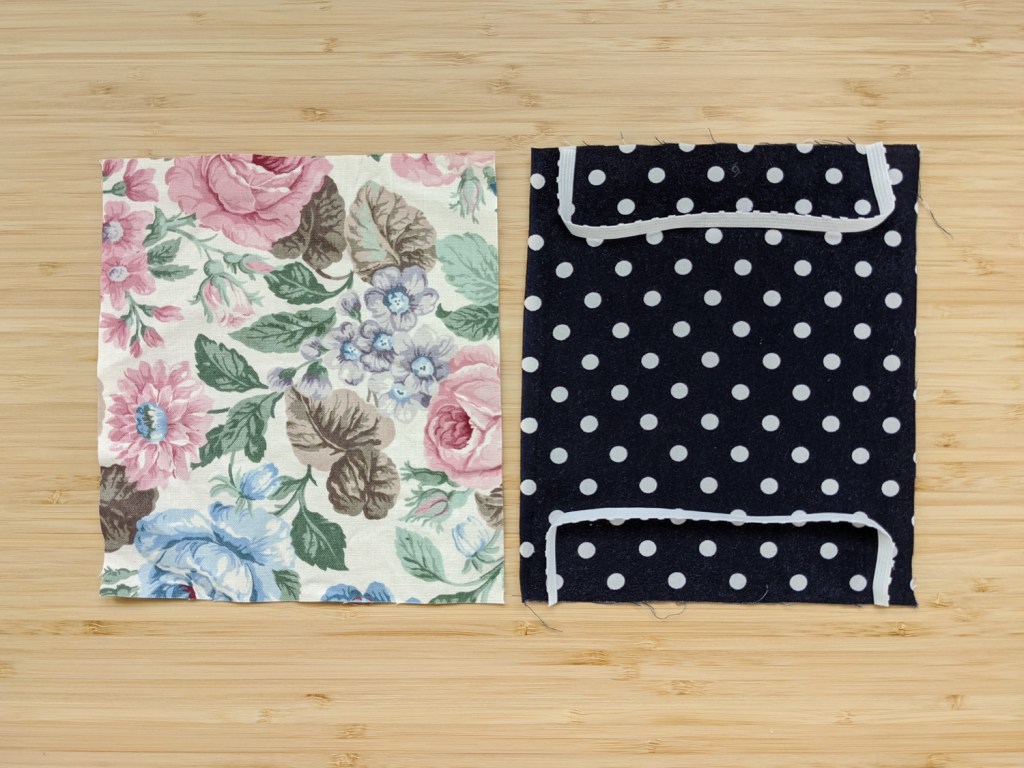
Step 2: Place one piece of fabric right side up. Sit the elastics on top in a half-loop facing inwards with the elastic ends near each corner (about 10mm away) along the short side of the fabric. Make sure the elastic isn’t twisted.
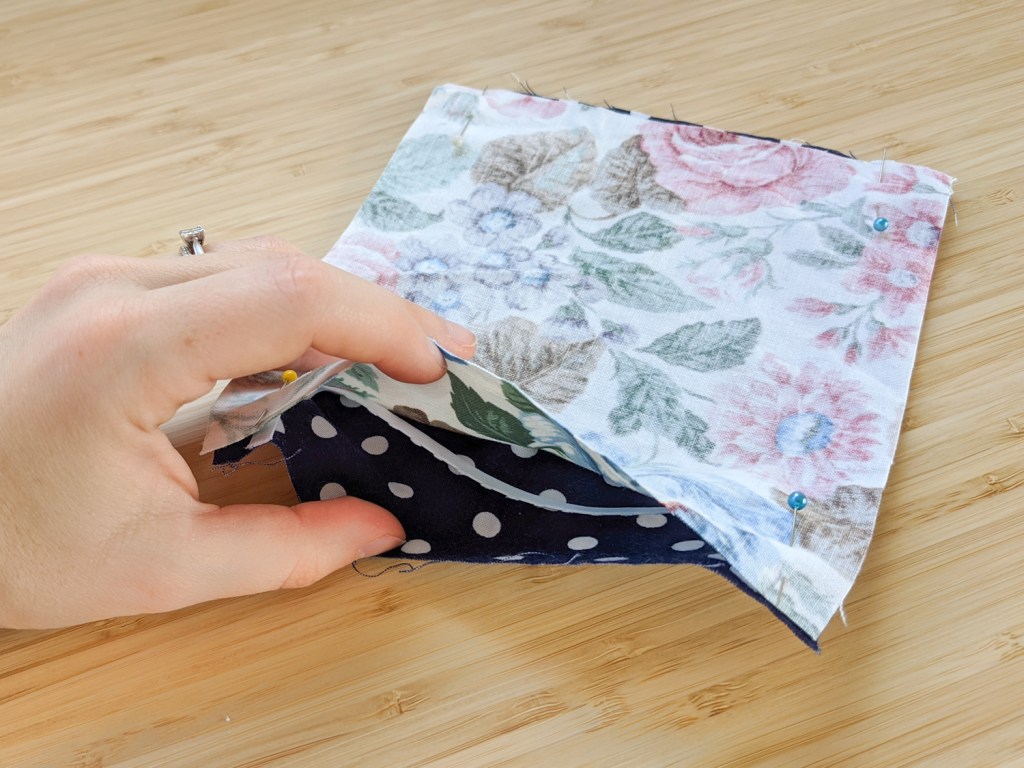
Step 3: Place the other piece of fabric on top, right side down. Pin all layers in place where the elastic meets the edges of the fabric.
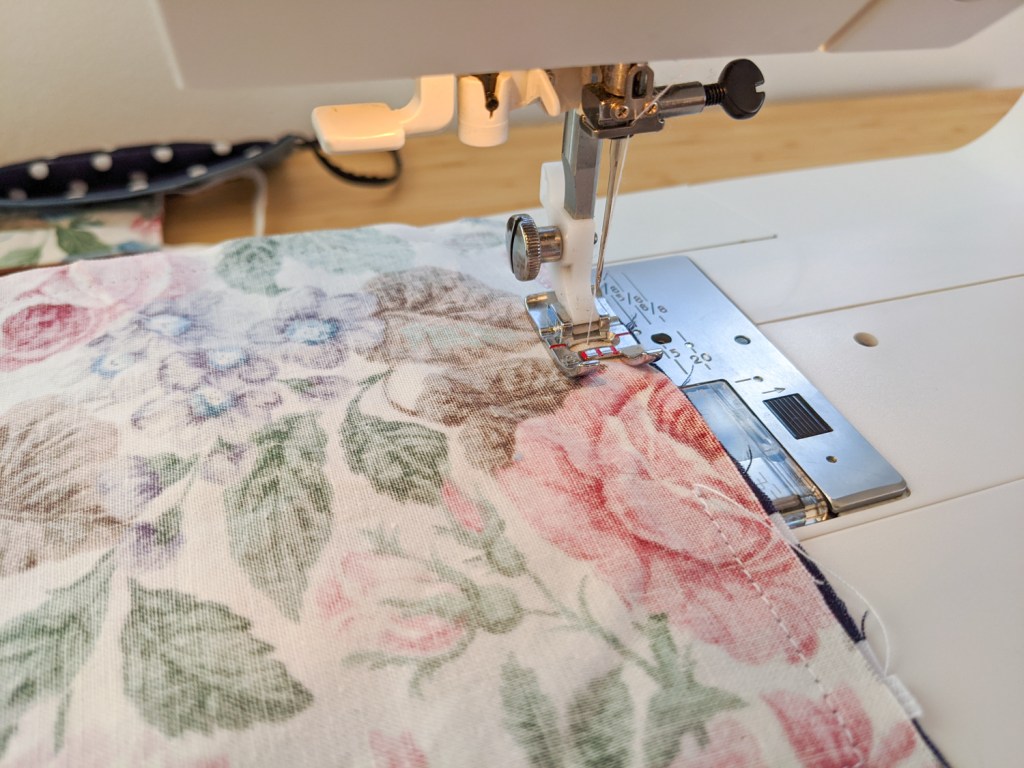
Step 4: Sew around the edges with a 10mm seam allowance, leaving a gap of about 30mm (around 1 inch) before you connect with your starting point.
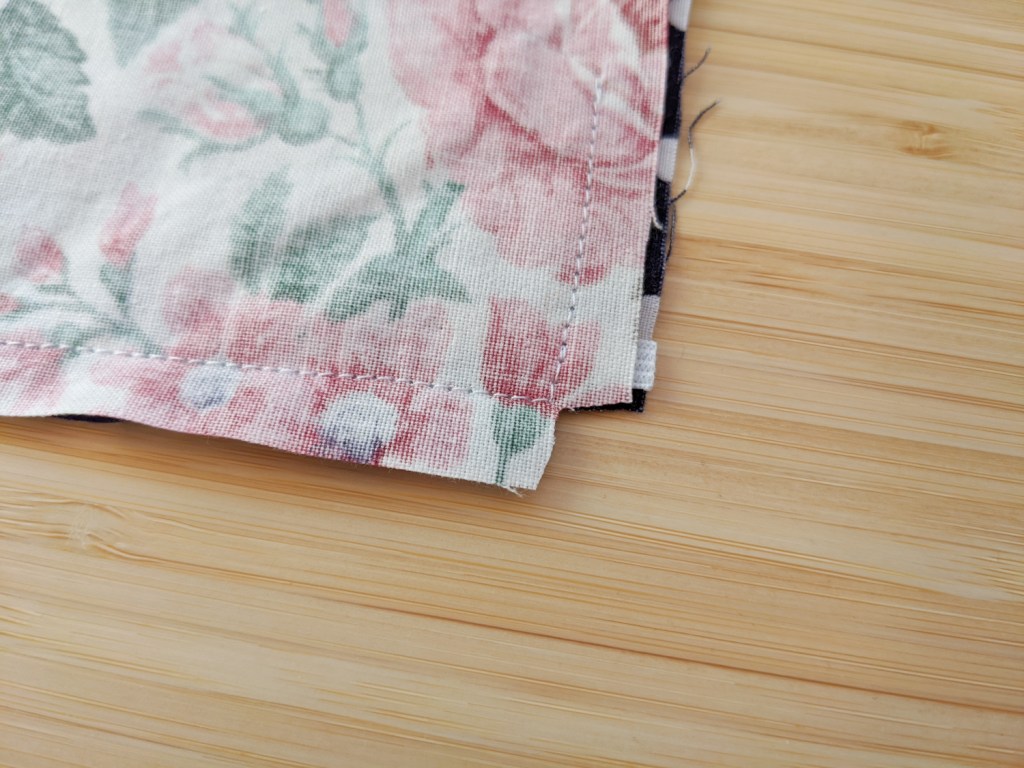
Step 5: Cut off the corners. This will help it look more tidy once you turn it inside out.
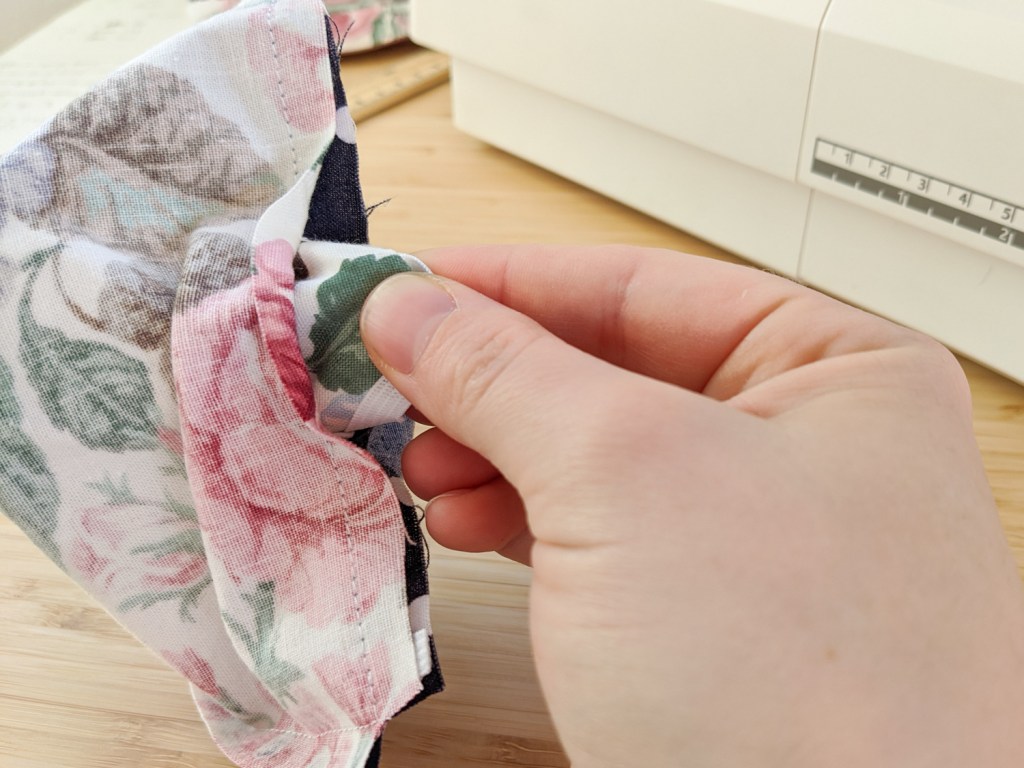
Step 6: Turn the mask inside out through the gap, and poke out the corners.

Step 7: Iron the edges so that they’re flat (I sometimes use my hair straightener for this if I can’t be bothered getting the iron out!).
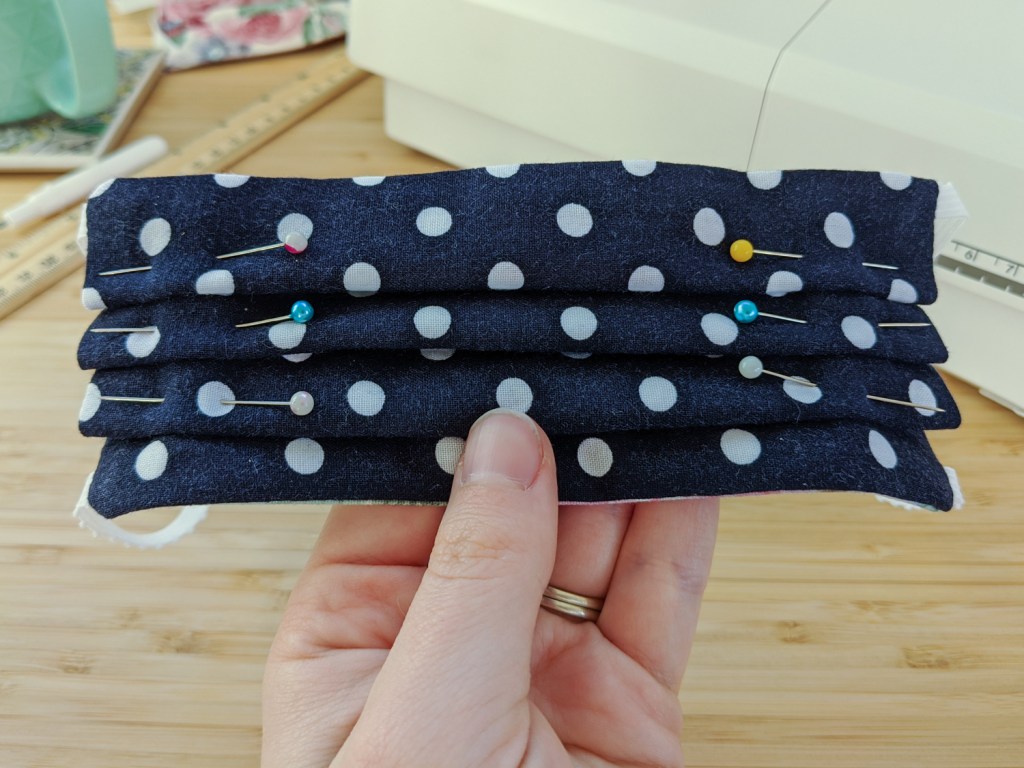
Step 8: Pin a few pleats on the short sides of the fabric in between the elastic. I did 3 pleats in mine.

Step 9: Sew around the entire edge of the mask. I went over the pleated edges twice to ensure they hold in place.
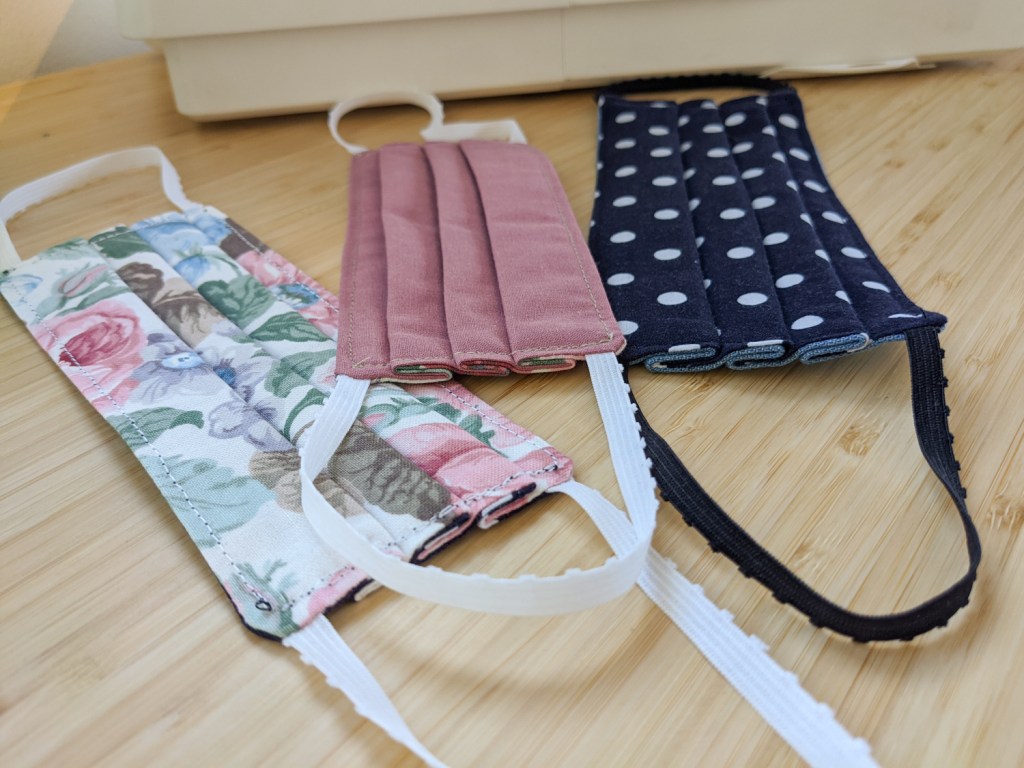
Step 10: Iron the pleats flat (this is for aesthetic purposes only). You’re done! The mask is ready to wear.
If the elastic is too loose when you put it on, you can tie a small knot in the elastic where it will sit behind your ear.
Have you tried to make these reusable face masks? How did you go? Share your attempt with us in the comments!

Leave a comment