
Both my son and my husband have very large head circumferences (it must run in the family!), so we know how annoying it can be to find a hat that fits.
My tot has a huuuge head and was always wearing a bigger size than his peers at the same age, so I was making him a toddler-sized hat as a baby, and a 53 cm/21 inch hat at just 19 months! That’s the same size as his 6 year old cousin, who has a small head for her age.
I’ll admit that I was a little intimidated by the idea of making a bucket hat at first, and I did make a few mistakes in my early attempts, but I’ve made enough hats now that I’ve truly perfected the pattern and process.
If you’ve been having trouble finding hats that fit really well, or maybe you just want to make a custom bucket hat in your choice of fabric, this bucket hat tutorial is for you!
Step 1: Get your bucket hat pattern
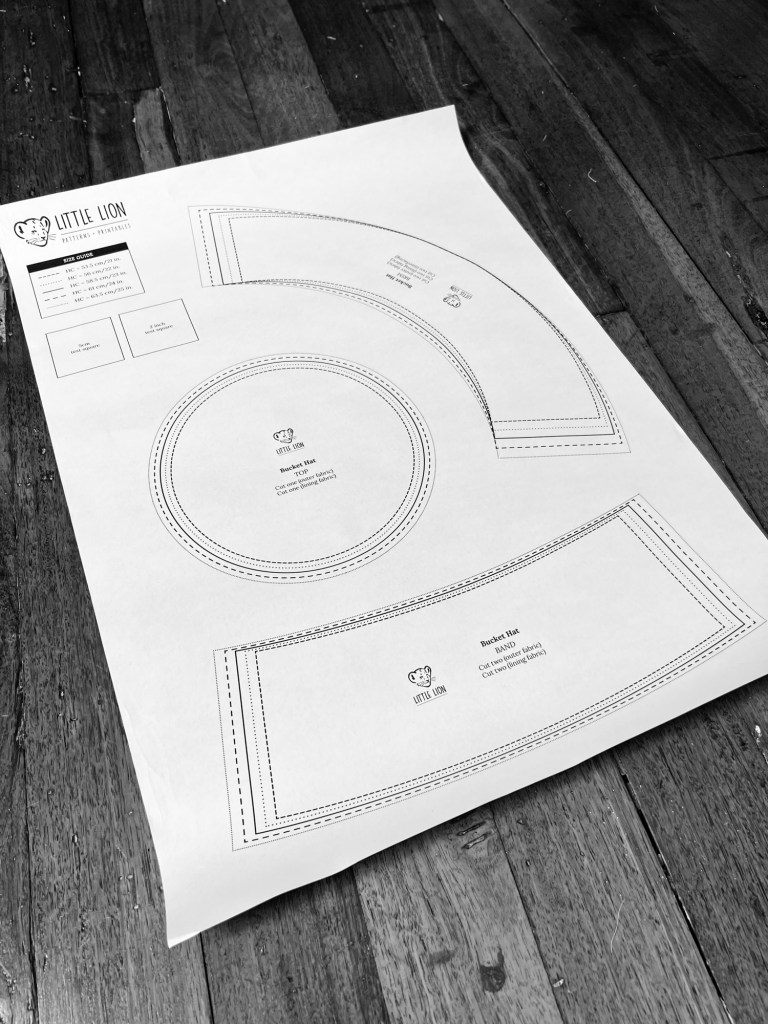
I have two bucket hat pattern options available in the Little Lion Patterns shop: a little kids bucket hat (for babies, toddlers, and children up to 12 years) and a teens & adults bucket hat (for 12 years and over).
If you wan’t, you can buy them as a combo for a discounted price in my Etsy shop, which will allow you to make bucket hats for the whole family.
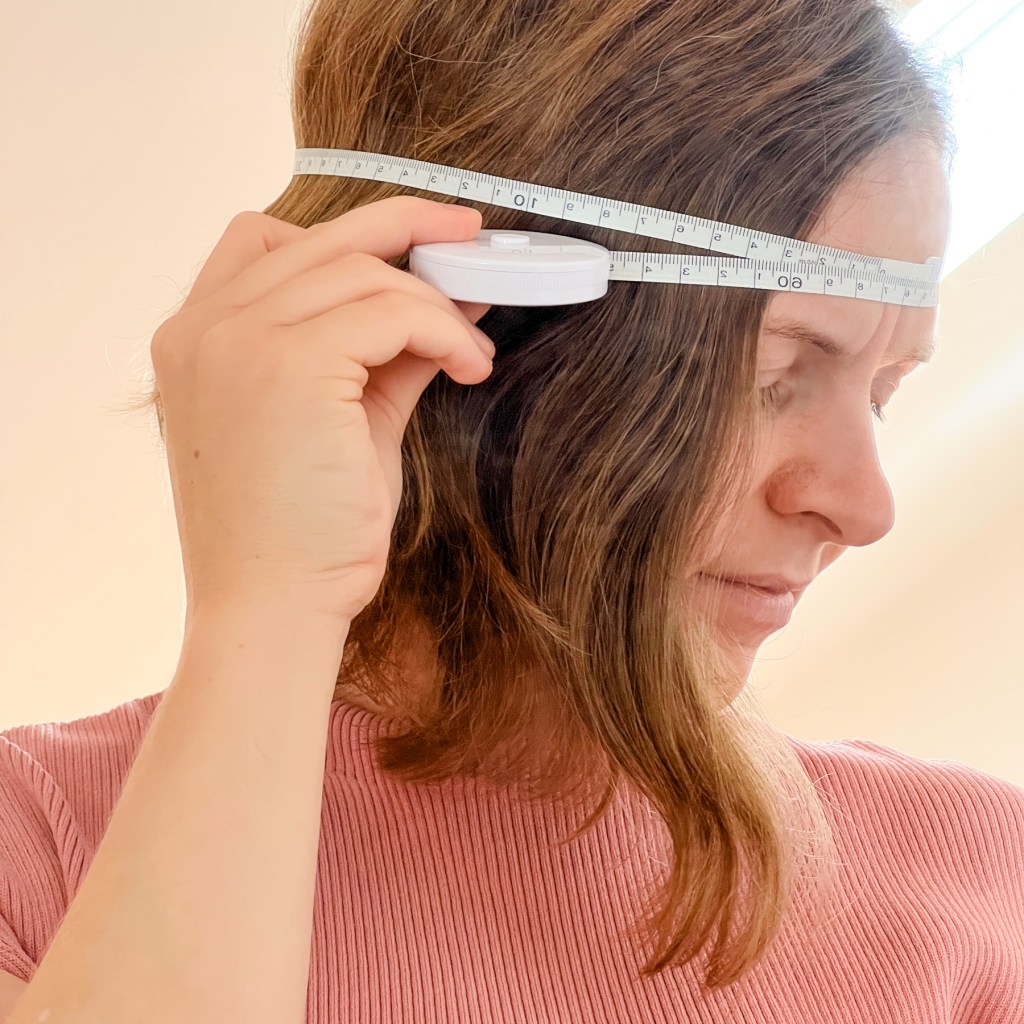
Step 2: Measure your head circumference
I’ve ensured that the bucket hat sizes start super small for tiny babies of just 3 months, and go up to an extra large for adults with generously-sized heads (like my husband!).
Be sure to measure before you make. This will ensure a custom-fitted hat that will sit nicely on the recipient’s head.
Get a measuring tape, and wrap it around the widest part of your head (or the head of the person you are making the hat for) to get your head circumference. Make a note of the size in either inches or centimetres, then check the size guide on the pattern to see which one you’ll be cutting out.
There’s not really a standard sizing that will fit defined age groups, however, you can use the following average head circumferences as a rough guide:
Infants, Toddlers & Children
- 0–3 months: 34–37 cm (13.5–14.5 in.)
- 3–6 months: 38–42 cm (15–16.5 in.)
- 6–12 months: 42–46 cm (16.5–18 in.)
- 1–2 years: 46–48 cm (18–19 in.)
- 2–3 years: 48–50 cm (19–19.5 in.)
- 3–5 years: 50–52 cm (19.5–20.5 in.)
- 5–7 years: 51–53 cm (20–21 in.)
- 7–12 years: 52–54 cm (20.5–21.5 in.)
Teens & Adults
- Teens 12–16 years: 53–55 cm (21–21.5 in.)
- Adult women: 54–57 cm (21.25–22.5 in.)
- Adult men: 56–60 cm (22–23.5 in.)
For head circumferences of 15-21 in., go for my little kids bucket hat sewing pattern.
For head circumferences of 21-25 in., go for my teens and adults bucket hat pattern.
Each size on the pattern is designed with a small amount of additional space, however, if you’re in between sizes, it’s definitely better to size up.
Eg. My head measures at 21.5 in. so I went for the 22 in. size.
Step 3: Choose your fabrics
You’ll need three main materials for your DIY bucket hat – outer fabric, lining, and interfacing.
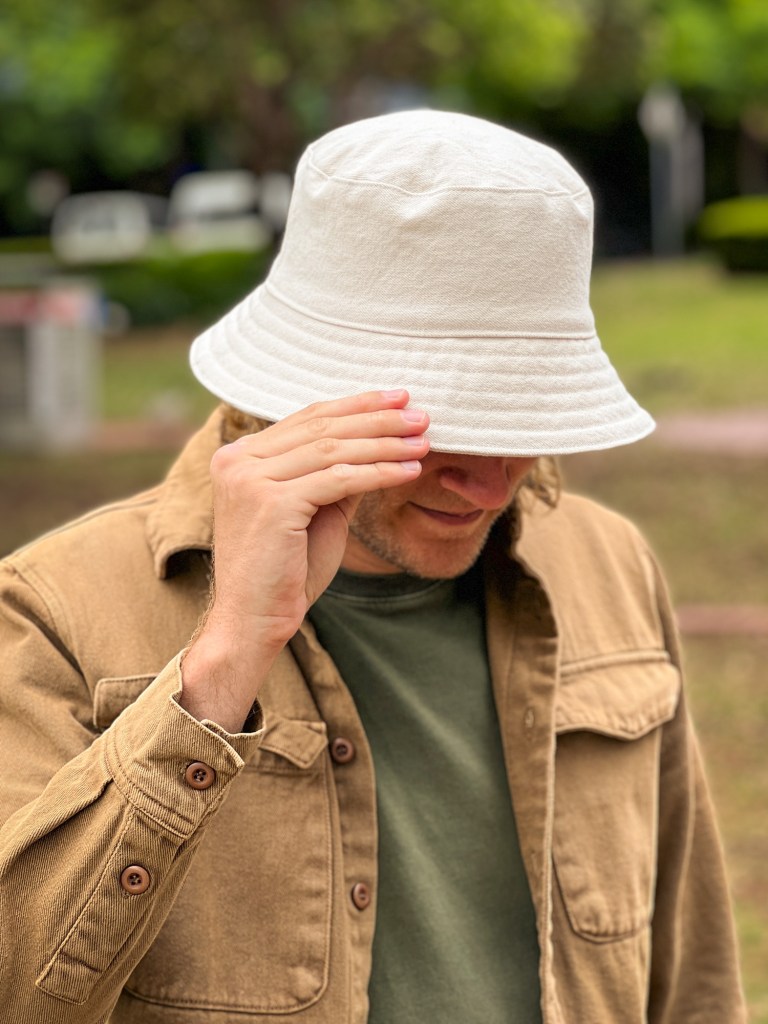
Outer fabric: For the exterior of the hat, use a sturdy woven cotton (drill, canvas, denim). I often use a pair of thrifted jeans from a charity shop to make my bucket hats, and in the case of the examples pictured in this post, it was a pair of dusty pink pants!
Lining fabric: For lining, use a lightweight woven cotton. I had some scraps from a past bucket hat project that I decided to use up for this one.
Interfacing: To strengthen the brim, use fusible interfacing.
Other: If you would like to add chin straps, use two strips of soft string or elastic that are not too thin or too thick. Something around the weight of a shoelace would work well.
Step 4: Cut your pieces
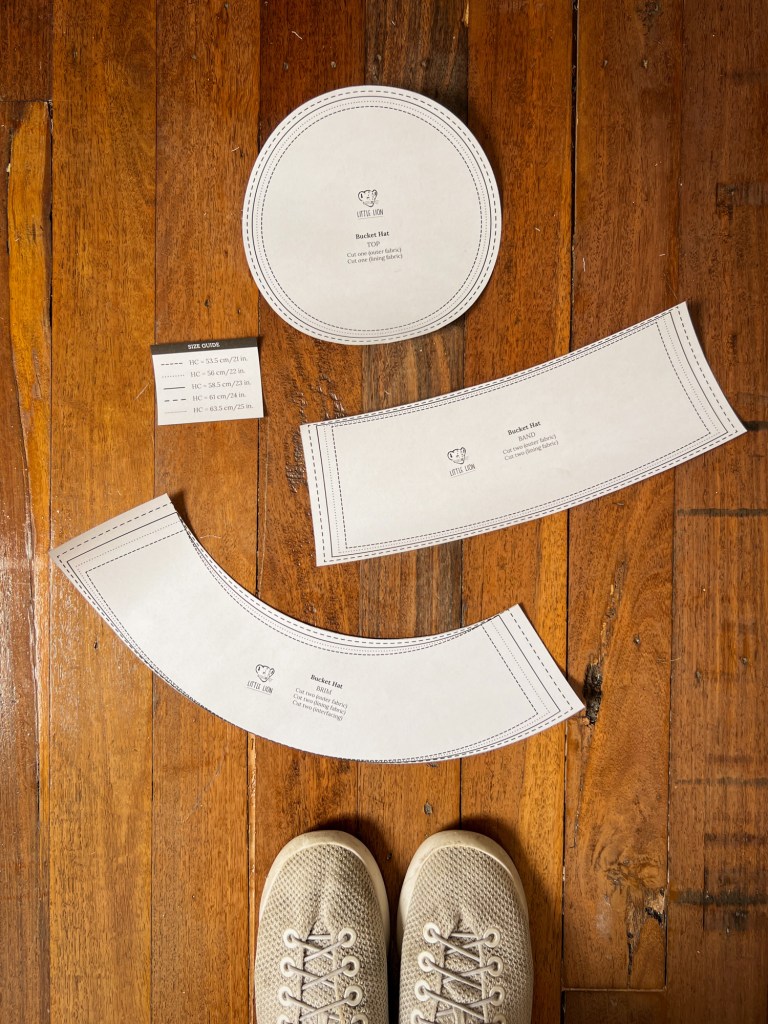
Brim
- Cut two (outer fabric)
- Cut two (lining fabric)
- Cut two (interfacing)
Top
- Cut one (outer fabric)
- Cut one (lining fabric)
Band
- Cut two (outer fabric)
- Cut two (lining fabric)
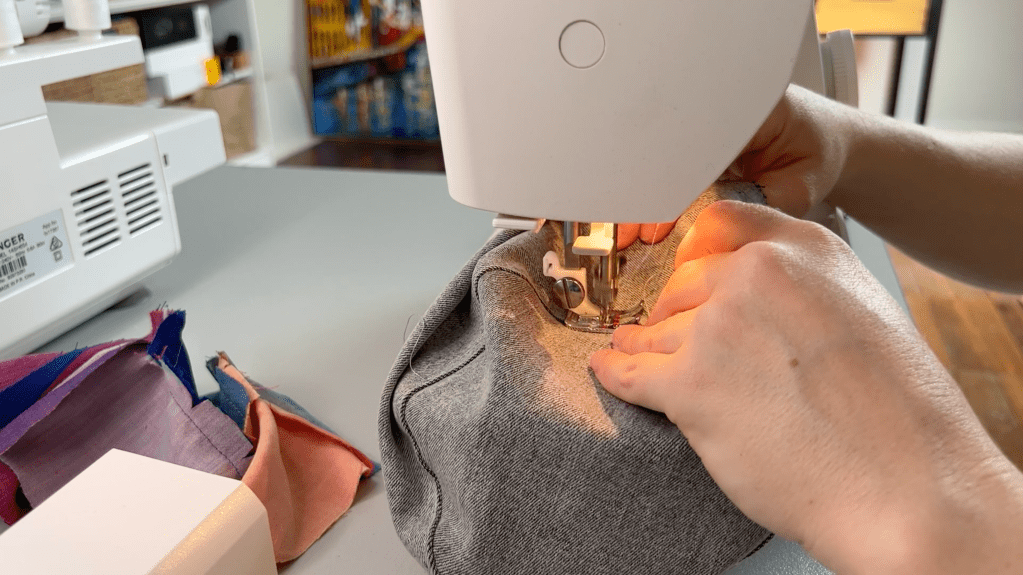
Step 5: Make the brim
Note that these instructions, along with detailed illustrations, are included with your purchased pattern.
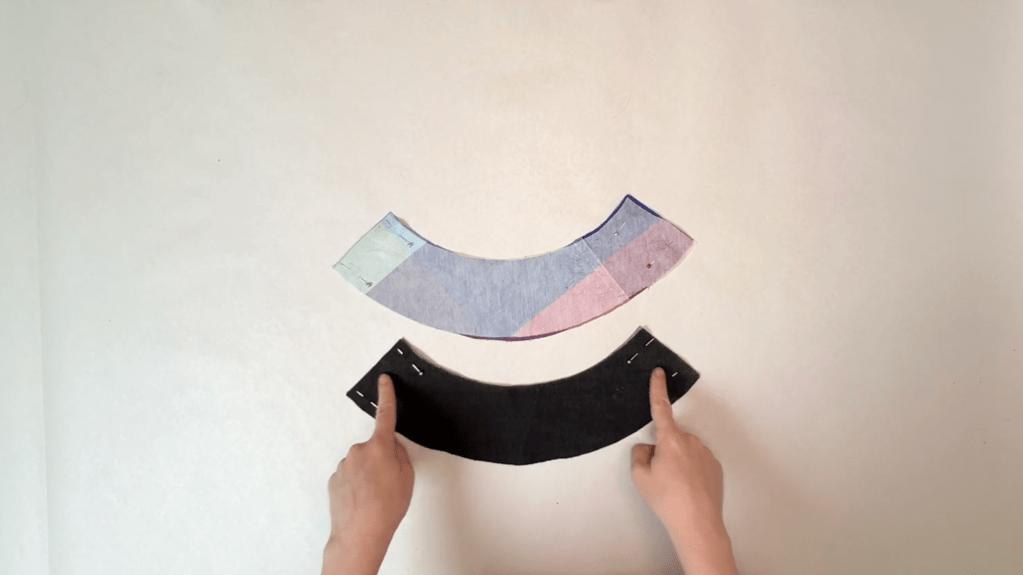
Place interfacing on wrong side of brim lining pieces. Iron to fuse.
Place brim lining pieces right sides together, then sew along each of the short edges. Repeat for brim outer pieces. Press seams flat.
Place brim lining and brim outer right sides together, matching at the seams. Stitch all the way around the outer edge.
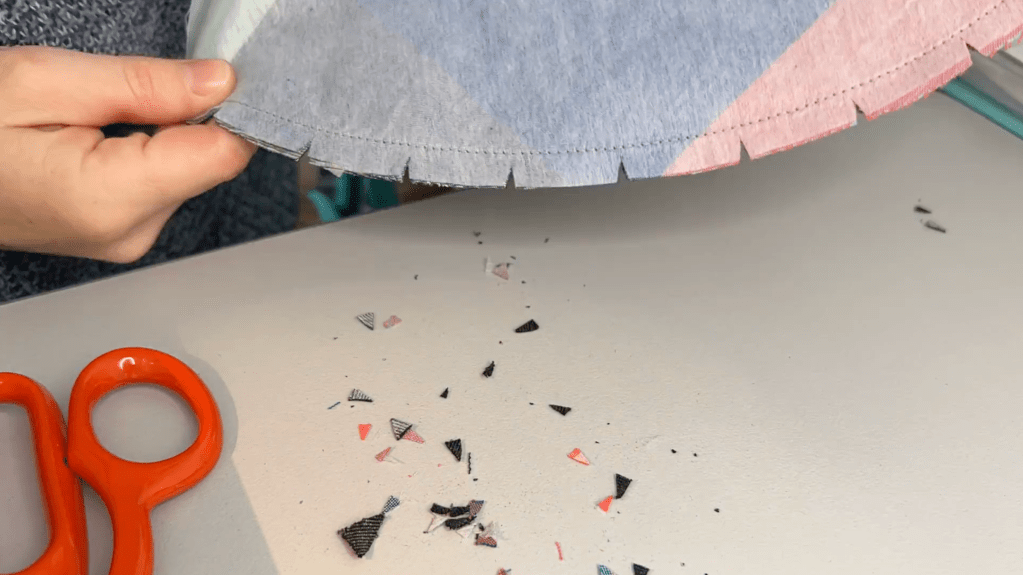
Cut out small notches in a V shape within the seam allowance around the curved edge, approximately every 2.5 cm (1 in.), being careful not to cut through the stitching (1d).
Turn out brim, so that right sides are facing out. Press outer edge flat.
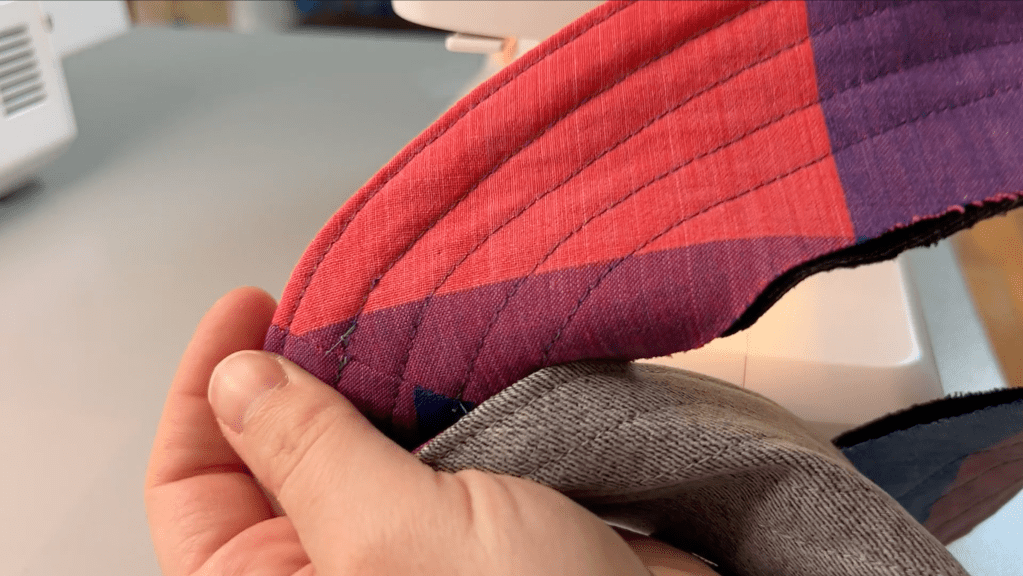
Topstitch around the rim, about 3 mm (1/8 in.) from the edge.
Do another row of stitching about 1 cm (3/8 in.) in from the first row. Repeat stitching rows until you get close to the inner brim edge.
Cut small slits around the inner brim edge, around 6 mm (1/4 in.) long, approximately every 2.5 cm (1 in.).
Step 6: Make hat tops
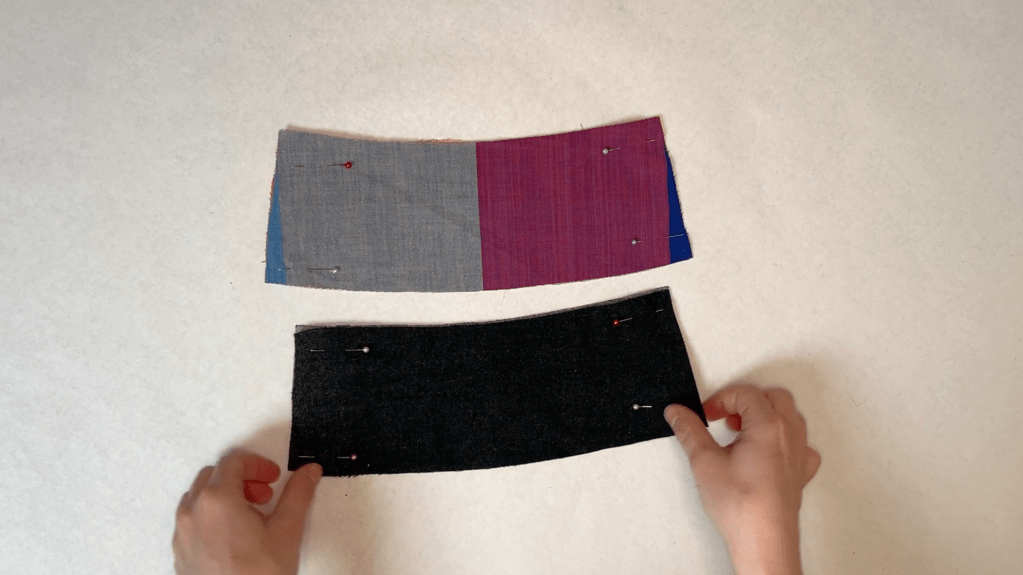
Place band outer pieces right sides together.
Sew along each of the short edges. Press seams open.

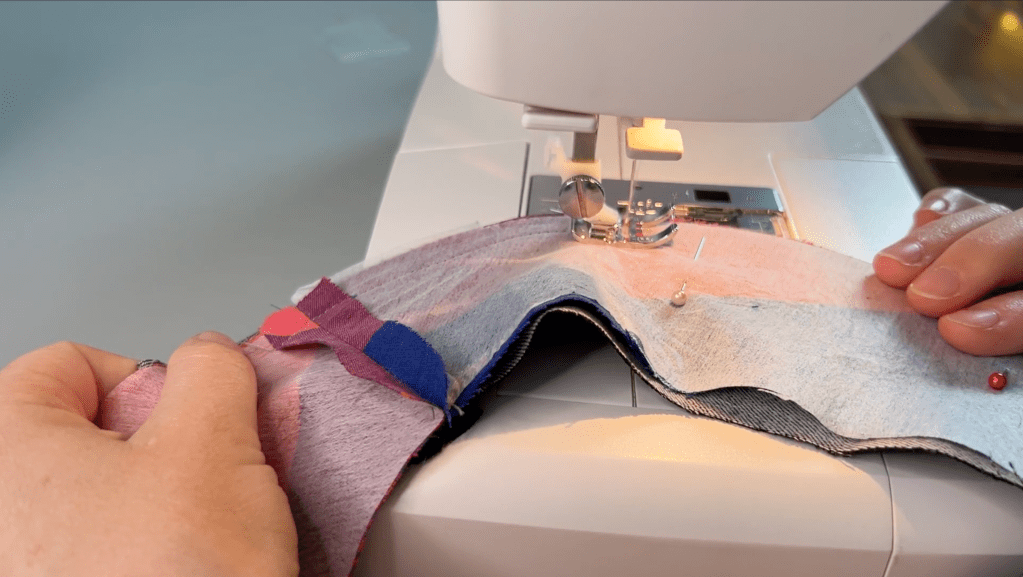
Pin the circular top piece to the top edge of the band, with right sides facing. Stitch together.
Cut out small notches in a V shape within the seam allowance.
Turn the hat right sides out. With the seam allowance flat against the band, topstitch about 3 mm (1/8 in.) from the seam.

Optional: You may also choose to topstitch on either side of the vertical seam on the band.
Cut out small notches in a V shape within the seam allowance along the raw edge at the bottom.
Repeat steps for all band and top lining pieces.
Step 7: Join brim and hat tops together
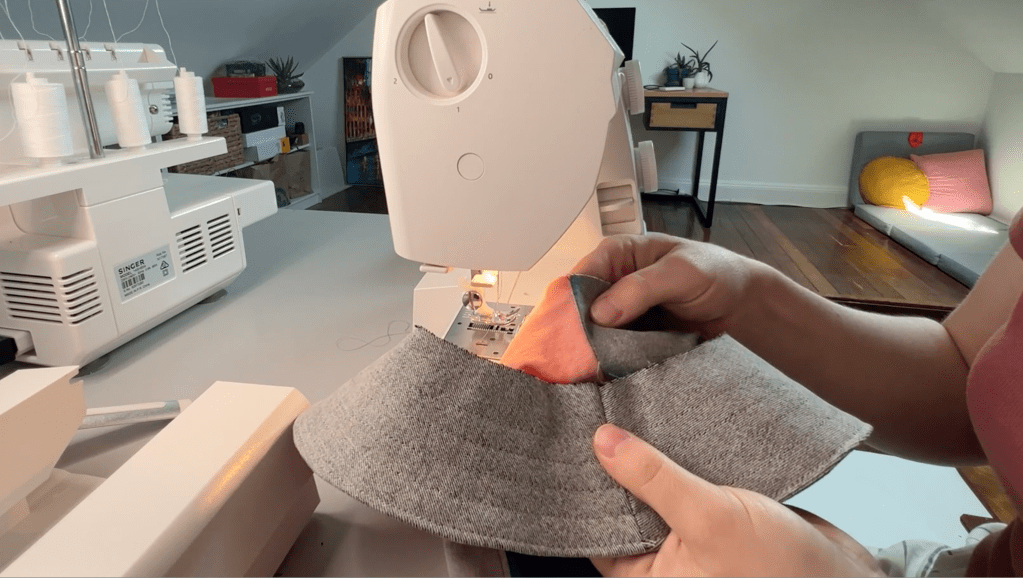
Pin raw edge of band lining to raw inner brim edge, with the right side of lining facing the lining side of the brim, matching the seams at each side.
Stitch all layers together.

Press seam allowance of band outer piece by 1 cm (3/8 in.) towards the wrong side.

Fit outer hat top over the lining, so that the folded edge at the bottom lines up with the seam where you attached the lining to the brim’s inner edge. Pin in place.

Topstitch all layers together about 3 mm (1/8 in.) from the folded edge.
Tips for sewing a great bucket hat:
Notch the seams. It might seem like a lot of effort, but cutting out the notches within the seam allowance does make a big difference to how neat the finished hat looks as there are a lot of curved seams in a bucket hat. If you don’t notch the seams, there may be some puckering and pulling in the fabric, and it may not sit as nicely on your head.
Insert a chin strap, if you wish. This could be useful for kiddos who like to pull off their headwear, or for anyone wearing their hat on a windy day. Do this at step 7 when you are attaching the lining to the brim. Insert the end of each strap between the band lining and brim at the point where the seams meet. Make sure each strap is long enough to tie together under the chin.

Leave a comment